Mackie ProFX10v3 and USB returns 3-4
On the Mackie ProFXv3 10 channel mixer, you have 2x4 USB I/O available: 2 output channels and 4 input channels. On a Mac Book Pro, those channels are natively available without a custom driver. Finding the return channels 3-4, which “should” appear as “speaker” outputs on the Mac, is not quite as straightforward as one might think.
Mackie ProFX10v3 10-Channel Mixer
To read all about my new setup and the details on the Mackie ProFX10v3 mixer, you’ll want to read my post on the Pandemic Audio Upgrade.
The relevant feature for today of the Mackie mixer board is the USB 2x4 I/O monitoring capability. This 2x4 nomenclature refers to the number of channels sent (2) and the number of channels returned (4), from the perspective of the mixer.
From the perspective of the Digital Audio Workstation (DAW), also known as your computer, you’ll receive 2 channels of input characterized as a microphone and you’ll send 4 channels of output as speaker options. On a Windows DAW, you’ll need a driver to make all this happen but support for the mixer is available natively on Mac OS X.
Where is my sound?
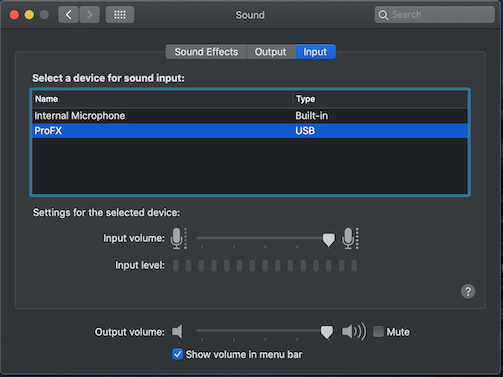
With the USB connection in place and the mixer powered on, the situation on the Mac Book Pro looks promising. The “microphone” (send channels 1-2) is easily identifiable:
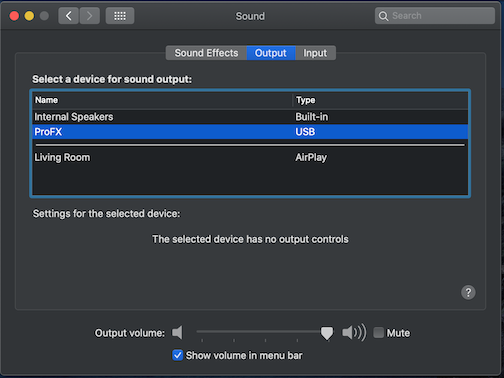
The “speaker” options (return channels 1-2, 3-4) however are a bit more vague:
If I expect two pairs of channels, why do I only have one option? Shouldn’t I have “ProFX 1-2” and “ProFX 3-4”? Since it is only “ProFX”, which two channels are they? The channel selection matters greatly because channels 1-2 can only be heard on the control room and headphone outputs. If you want audio mixed with your other channels (via mixer channels 9/10), your audio must arrive on return channels 3-4.
It doesn’t take long to realize that, by default, ProFX output translates to channels 1-2.1 So the question is, how do I send output to channels 3-4?
Audio MIDI Device
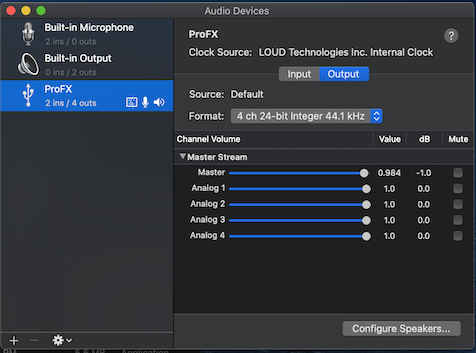
The clue in solving this problem lies with the fact these channels are connected to a MIDI device. Mac OS X has a dedicated application to configure the MIDI devices - “Audio MIDI Setup”:
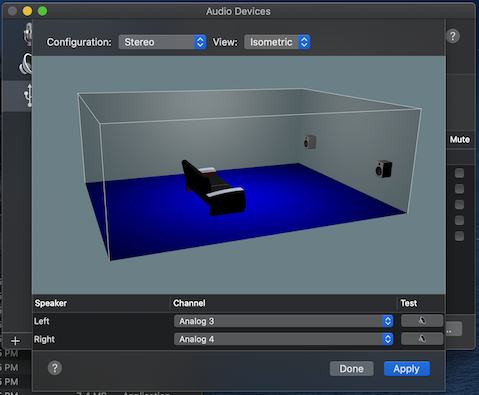
As you can see in the image, with the output option selected, there are 4 analog channels and … a “Configure Speakers” option. With the 2-channel “Stereo” option, we can select channels 3 and 4 for the left and right option:
Click apply and music starts appearing in mixer board channels 9/10 … well, of course, that’s only if the USB 3-4 button is down.
Why all the channels?
You might be frustrated - and to be honest, I still am - that you can’t send 4 tracks natively in Mac OS X simultaneously via my “ProFX 1-2” ideas above. Or, that the mixer board only allows tracks 3-4 to be inserted into the main output mix while tracks 1-2 are sent to the control room or headphones. You might also think you should’ve got the next model up to get more features.
The reality is - every ProFXv3 model operates the same way. The question is why?
As with many technical products, the answer comes down to use cases. USB 1-2 are designed to assist with overdubbing tracks. Your primary tracks are recorded to the DAW and then in a second pass played back through USB 1-2. In parallel, while you listen to the pre-recorded track via headphones, new audio mix from the overdub (second guitar part, for example) is recorded via the send channels 1-2 on the DAW. In short, USB returns 1-2 are really designed to help digitally record individual, multiple tracks that are synchronized.
USB 3-4 serve a similar role but with an important distinction. You can play pre-recorded tracks as in the USB 1-2 use case. However, those tracks are mixed into the main outputs along with your new audio. Typically, this is done for backing tracks in situations where, for example, you’ve pre-recorded the instruments and are singing live. This integrated mix could also be recorded by the DAW via send channels 1-2. Unlike the overdub scenario though, there is no separating the backing track from the new audio.
Read The Fine Manual
The most amazing aspect of this post is why I wrote it. Mackie products have some great documentation with in-depth description of the circuit paths as well as some humor (rude solo lights, “Watch our dang videos”, etc.). But, details about this feature were surprisingly difficult to find. On page 7, we have this detail about the USB:
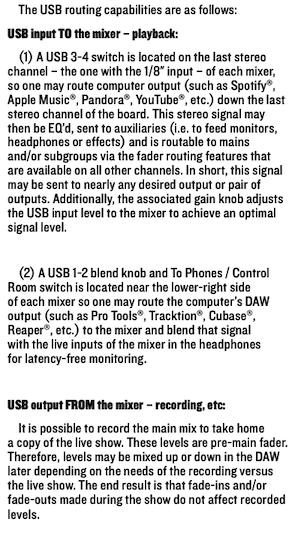
In searching the Internet, many folks like myself stopped there, proceeded to seek collective wisdom, and generate a great deal of frustration trying to figure it out. What we failed to do was check the documentation for the USB 3-4 button itself (on page 15):
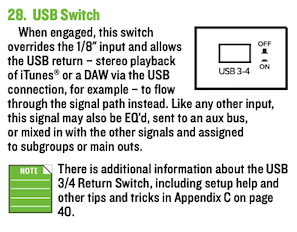
All the way down past Appendix A (Service Info) and Appendix B (Technical Info) - with all the board layouts and circuit paths - there’s Appendix C with exactly how to make the changes described in this blog. Which means, as you might suspect, the table of contents also itemizes out the appendix and its title “USB 3/4 Return Setup”.
And yes, I had the bulk of the post written and then stumbled upon Appendix C when looking for something else.
References
-
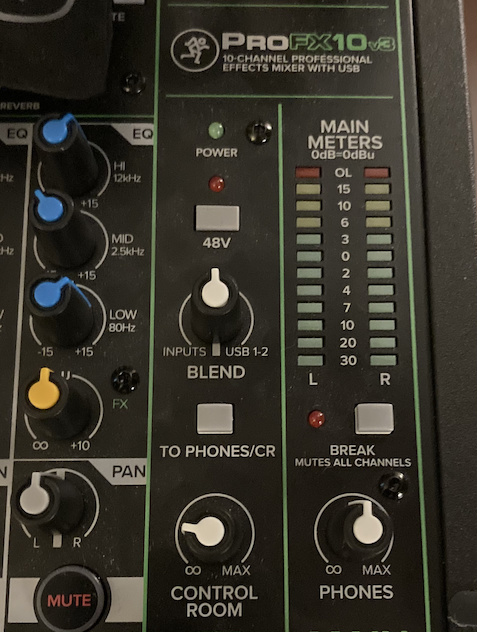
To test this, simply crank up some tunes on your Mac, select ProFX from the speaker icon in your system menu, plug in some headphones, and select the “TO PHONES/CR” button in the image shown above. ↩
